
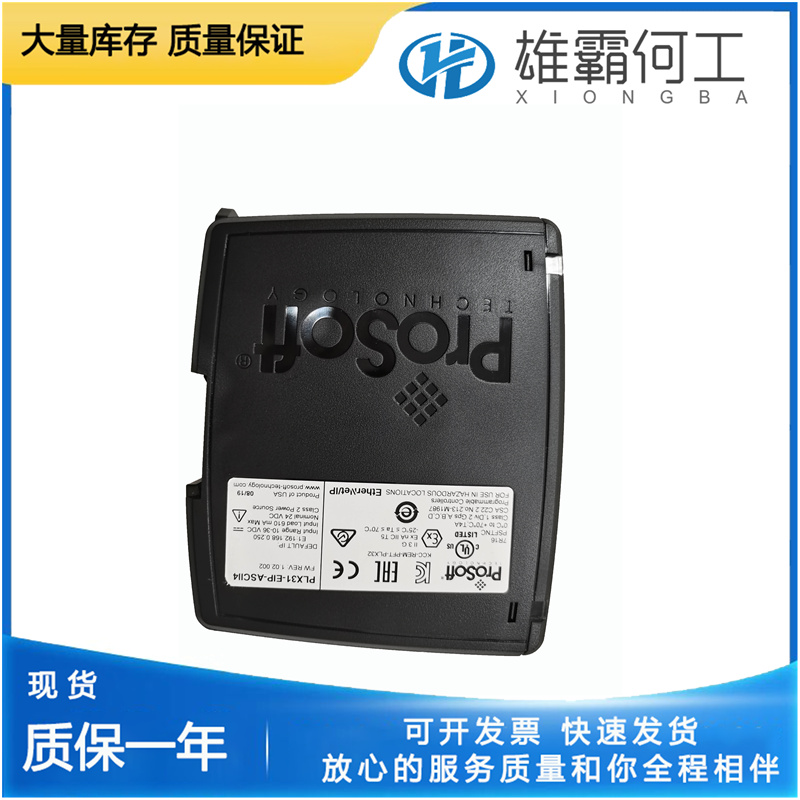
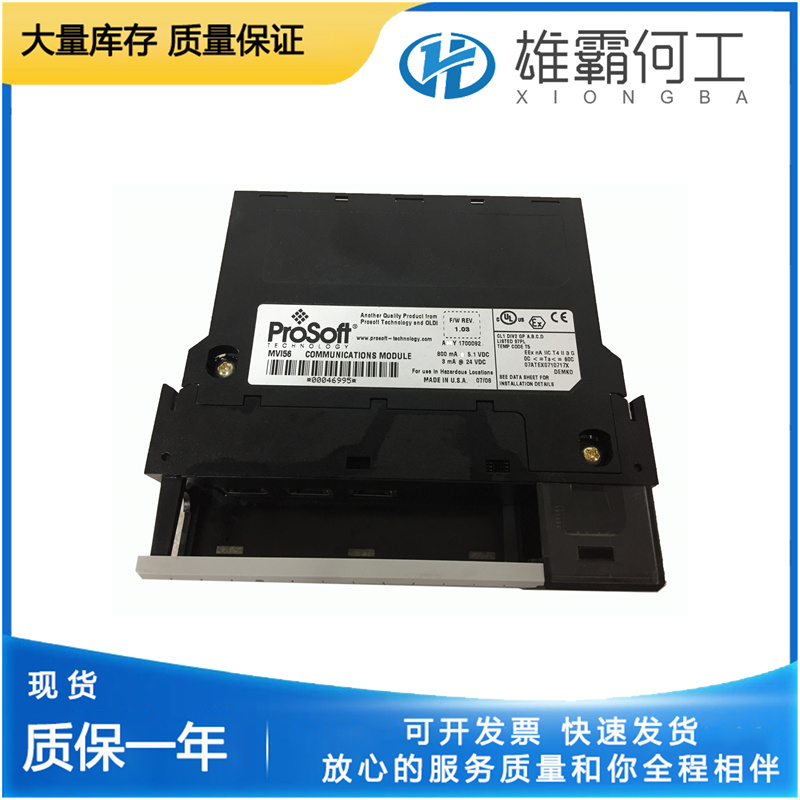
PROSOFT MVI56-LTQ 控制系统
9级别1仅记录错误。这是大多数应用程序的建议设置。PLX31-EIP-ASCII4级别2到4会越来越详细地记录信息性事件。使用这些级别进行故障排除和支持。MVI56-LTQ级别0仅记录内部系统错误。必须重新启动扫描仪,新的日志级别才能生效。单击PLX31-EIP-ASCII4按钮以重新启动扫描仪。系统将提示您确认重新初始化。清除事件日志从模块中清除整个事件日志。这是无法撤消的。更新您可以从此页面更新模块的固件。只有在MVI56-LTQ技术支持指示您更新固件的情况下,您才应该更新固件。单击浏览按钮以选择计算机上的固件文件。固件文件的文件扩展名为“fwa”。单击UPDATE按钮对模块执行更新。系统将提示您确认更新。重要提示:在更新完成之前,请勿循环供电或断开以太网电缆。重要提示:重新启动模块后,您必须清除浏览器的缓存(工具/删除浏览历史记录/临时MVI56-LTQ文件),以确保旧页面已从浏览器的内存中清除。重新启动单击PLX31-EIP-ASCII4按钮以重新启动模块。系统将提示您确认重新启动。
您可以为每个端口配置以下设置。· 残废· 静态IP地址o子网掩码o默认网关(可选)· DHCP(通过DHCP服务器自动配置)单击“保存”按钮更新模块上的这些设置。您可以在模块上执行的系统功能包括:功能描述备份通过检查CONFIGURATION(配置)和/或ADMINISTRATIVE settings(管理设置)从模块中选择要备份的设置。然后单击PLX31-EIP-ASCII4按钮将当前模块配置备份到计算机上的文件中。ADMINISTRATIVE SETTINGS备份所有模块配置设置,包括网络设置、设备名称等。PLX31-EIP-ASCII4仅备份与数据传输相关的信息。然后,您可以使用此备份文件配置具有相同设置的另一个模块。恢复单击浏览按钮从计算机中选择以前保存的配置文件。MVI56-LTQ 单击RESTORE按钮将模块恢复到配置文件中保存的状态。配置恢复后,模块将重新启动。系统将提示您确认配置还原并重新启动。PLX31-EIP-ASCII4 设置日志级别设置扫描仪模块将记录事件的日志级别。
Update You can update the module's firmware from this page. You should only update the firmware if you have been directed to do so by ProSoft Technical Support. Click the BROWSE button to select the firmware file on your computer. Firmware files have the file extension "fwa". Click the UPDATE button to perform the update on the module. You will be prompted to confirm the update. PLX31-EIP-ASCII4 Important: Do not cycle power or disconnect the Ethernet cable until the update is complete. Important:MVI56-LTQ You must clear your browser's cache (Tools/Delete Browsing History/Temporary Internet Files) after rebooting the module to ensure the old pages have been cleared from your browser's memory.PLX31-EIP-ASCII4 Reboot Click the REBOOT button to reboot the module. You will be prompted to confirm the reboot.
PLX31-EIP-ASCII4 Restore Click the BROWSE button to select a previously saved configuration file from your computer. Click the RESTORE button to restore the module to the state saved in the configuration file. The module is rebooted after the configuration is restored. You will be prompted to confirm the configuration restore and reboot. Set Log Level Set the log level at which the scanner module will record events. § Level 1 logs errors only. This is the recommended setting for most applications. § Levels 2 through 4 log informational events in increasing detail. Use these levels for troubleshooting and support. § Level 0 logs only internal system errors. The scanner must be restarted before the new log level will take effect PLX31-EIP-ASCII4 Click the REINITIALIZE button to restart the scanner. You will be prompted to confirm the reinitialize. Clear Event Logs Clears the entire Event Log from the module. This cannot be undone.
You can configure the following settings for each port. · Disabled · Static IP Address o Subnet Mask o Default Gateway (optional) ·PLX31-EIP-ASCII4(auto-configured through a DHCP server) Click the SAVE button to update these settings on the module.System functions you can execute on the module include: Function Description Backup Choose which settings from the module you would like to backup by checking CONFIGURATION and/or PLX31-EIP-ASCII4 SETTINGS. Then click the BACKUP button to backup the current module configuration(s) to a file on your computer. ADMINISTRATIVE SETTINGS backs up all module configuration settings,PLX31-EIP-ASCII4 including network settings, device name, and so on. CONFIGURATION backs up the only the information that pertains to the transfer of data.MVI56-LTQ You can then use this backup file to configure another module with the same settings.