


PROSOFT RLX2-IHNF-A 网关系统
支持的系统包括:罗克韦尔自动化(RA)ControlLogix(CLX)可编程自动化控制器(PAC)系统RA CompactLogix™ (CPLX)PAC系统Allen-Bradley®(A-B)PLC5®系统A-B SLC™ 系统A-B MicroLogix™ 系统西门子S7®系统与工业以太网通信Schneider Electric®Quantum™ 具有Modbus TCP/IP通信的PLC系统支持Modbus TCP/IP协议的任何设备学习目标当您完成本设置指南中的所有步骤后,您将学会如何理解示例应用程序的工作原理安装和配置ILX56-MM模块将附加说明导入ControlLogix和CompactLogix处理器(第24页)验证ILX56-MM模块通信状态
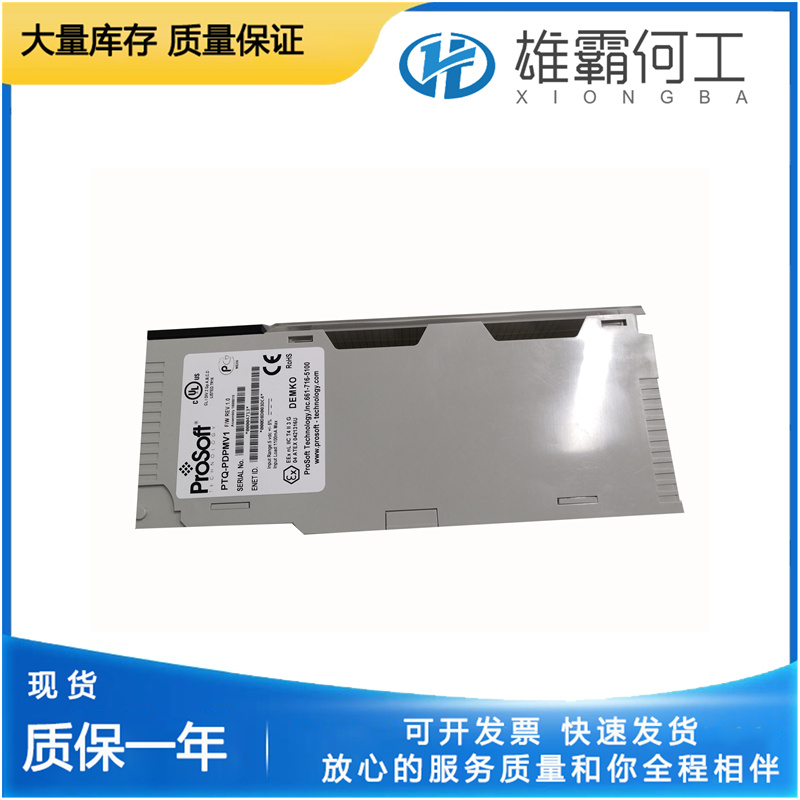
注意:这是由于传输目的地写入错误而导致的。6.4.8清除错误计数传输状态错误计数可通过两种方式共同清除:1机组重新启动。2“状态运行时传输列表”页面上将提供一个清除传输状态数据按钮,如下所示。ProSoft Technology,股份有限公司致力于提供最高效、最有效的支持。打电话之前,请收集以下信息以帮助加快这一过程:1产品版本号2系统架构3网络详细信息如果问题与硬件有关,我们还需要有关信息:1模块配置和相关梯形图文件,如果有2模块操作和任何异常行为3配置/调试状态信息4 LED模式5与模块接口的串行、以太网或现场总线设备的详细信息,如果有。注:对于美国境内的技术支持电话,ProSoft的全天候下班后电话支持可用于紧急的工厂停机问题。我们在全球各地的详细联系信息见下页。有关ProSoft Technology的销售条款和条件、保修、支持、服务和退货材料授权说明的完整详细信息ILX56消息管理器是一种通信接口,可安装在罗克韦尔自动化®ControlLogix®1756机箱中,以提供基于各种控制器和处理器的自动化系统之间的数据传输功能。
one for a 1756-L55 ControlLogix 5555 Controller, and one for a 1769-L35E CompactLogix5335E Controller. These ladder logic files contain controller tags that you will import into the ILX56-MM module. You will then be able to transfer data between both processors from the ILX56-MM module. 3.1.1 Required Steps This Setup Guide takes you through the following steps: 1 Install the ProSoft Module in the ControlLogix rack (page 20) 2 Set the module's permanent IP Address (page 21) 3 Download the Sample Ladder Logic to the ControlLogix Processor (page 23) 4 Download the Sample Ladder Logic to the CompactLogix Processor (page 25) 5 Connect the ControlLogix and CompactLogix racks to the Ethernet Network (page 27) 6 Configure ILX56-MM Module (page 27) 7 Verify Data Exchange (page 50) 3.2 Architecture The sample application uses the following hardware and connections.
one for a 1756-L55 ControlLogix 5555 Controller, and one for a 1769-L35E CompactLogix5335E Controller. These ladder logic files contain controller tags that you will import into the ILX56-MM module. You will then be able to transfer data between both processors from the ILX56-MM module. 3.1.1 Required Steps This Setup Guide takes you through the following steps: 1 Install the ProSoft Module in the ControlLogix rack (page 20) 2 Set the module's permanent IP Address (page 21) 3 Download the Sample Ladder Logic to the ControlLogix Processor (page 23) 4 Download the Sample Ladder Logic to the CompactLogix Processor (page 25) 5 Connect the ControlLogix and CompactLogix racks to the Ethernet Network (page 27) 6 Configure ILX56-MM Module (page 27) 7 Verify Data Exchange (page 50) 3.2 Architecture The sample application uses the following hardware and connections.
The Sample Application uses controller tags to read and exchange data values between the ControlLogix and CompactLogix processors. If you have downloaded the Sample Ladder Logic to both processors, these tags will be available in the ILX56-MM module. To start with, both PLCs need to have tags entered that will serve as the tags that will receive/read data values and tags that will transmit/write values from and to the other PLC. Once these tags have been entered and ladder logic developed in both PLCs, the ILX56-MM module's configuration process can proceed. Note: The sample ladder logic is used only to demonstrate how to put values in tags.In the Sample Application, the ILX56-MM is configured to exchange data between the two processors through its backplane connection to the ControlLogix processor. The module requires no additional programming to accomplish data exchange. Sample Application using ControlLogix Backplane The following diagram illustrates how data is transferred through the ILX56-MM module in the Sample Application.The Sample Application consists of two ladder logic files,